Product Specs & Comparison
Know every device inside and out. Customers will ask about specs, features, and how to use them.
Device Specs
Oricle 2.0 (JH-A490)
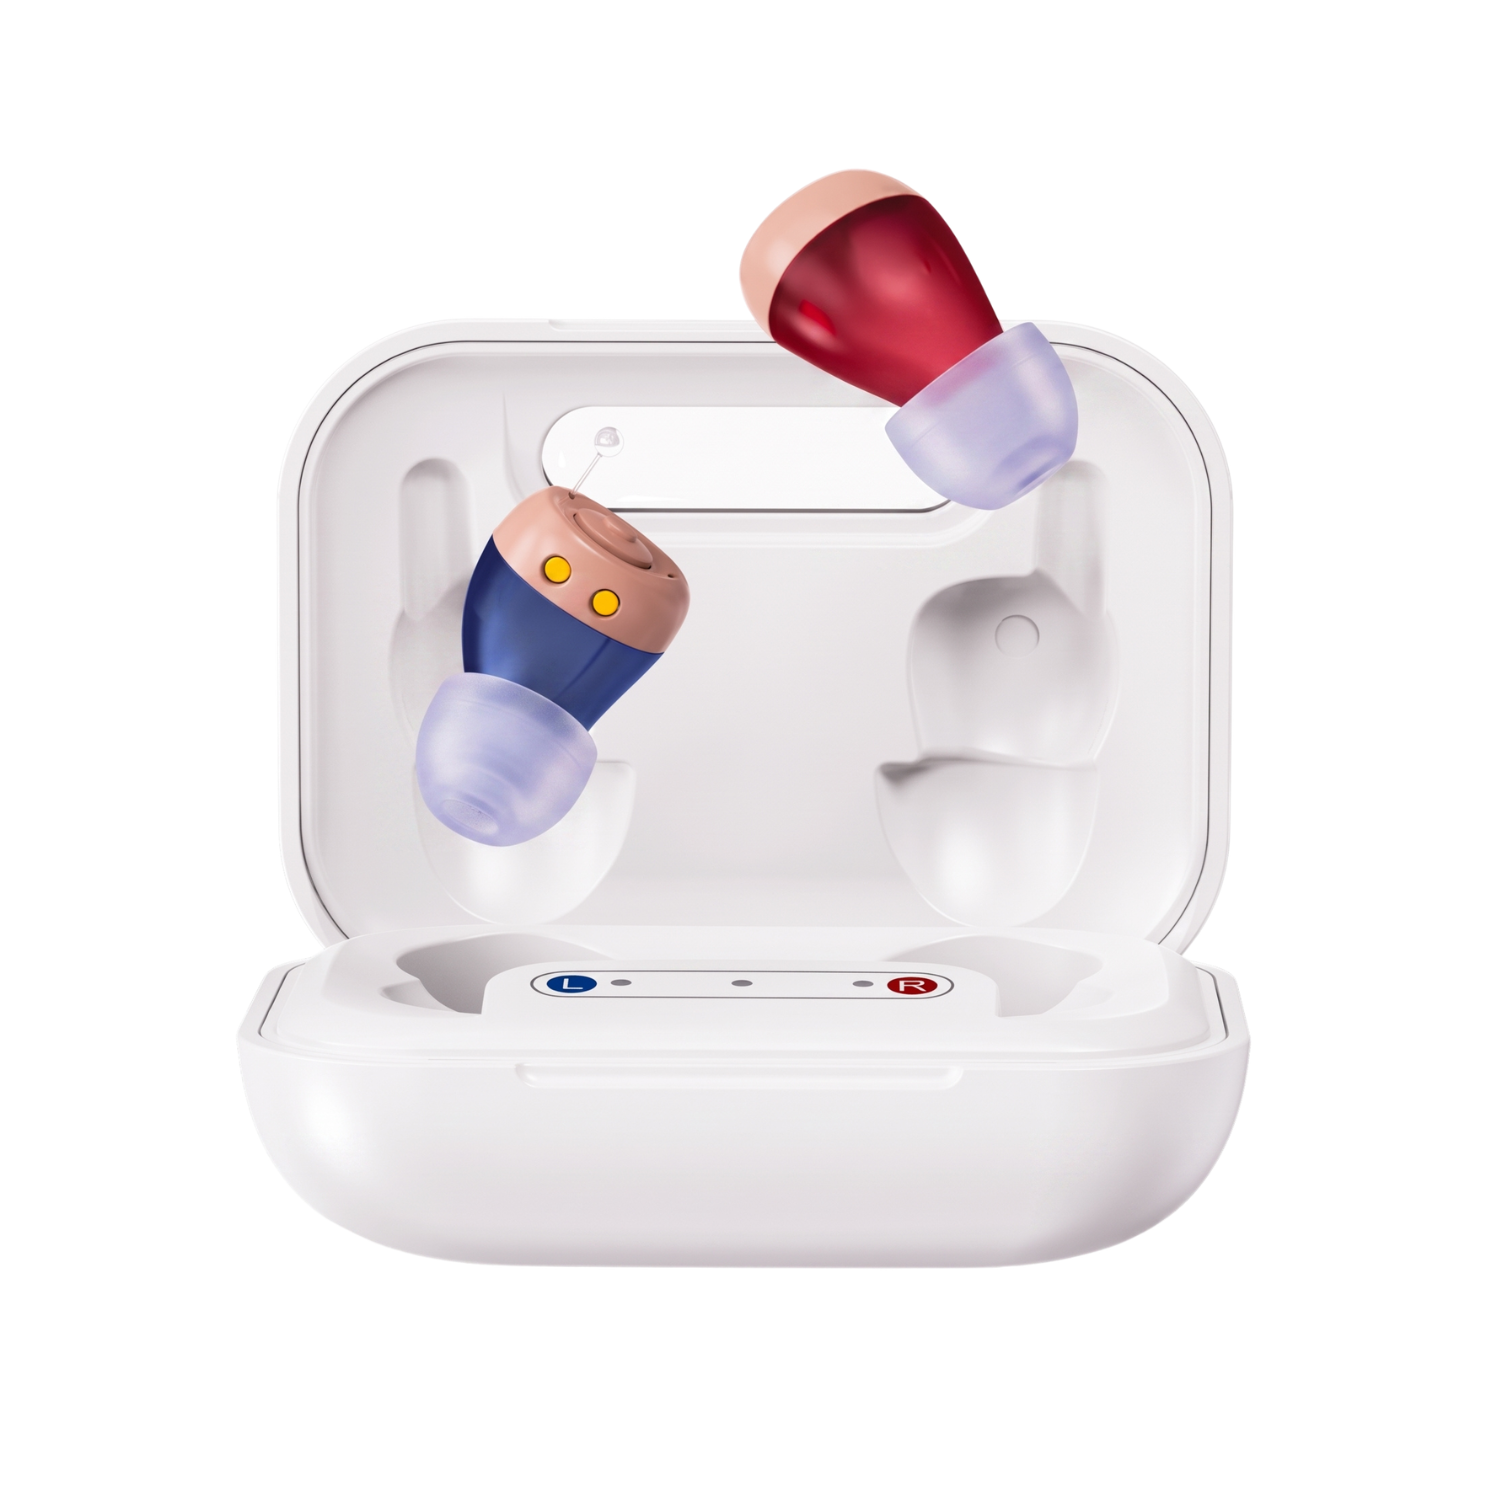
Oricle 3.0 (JH-A490 improved)
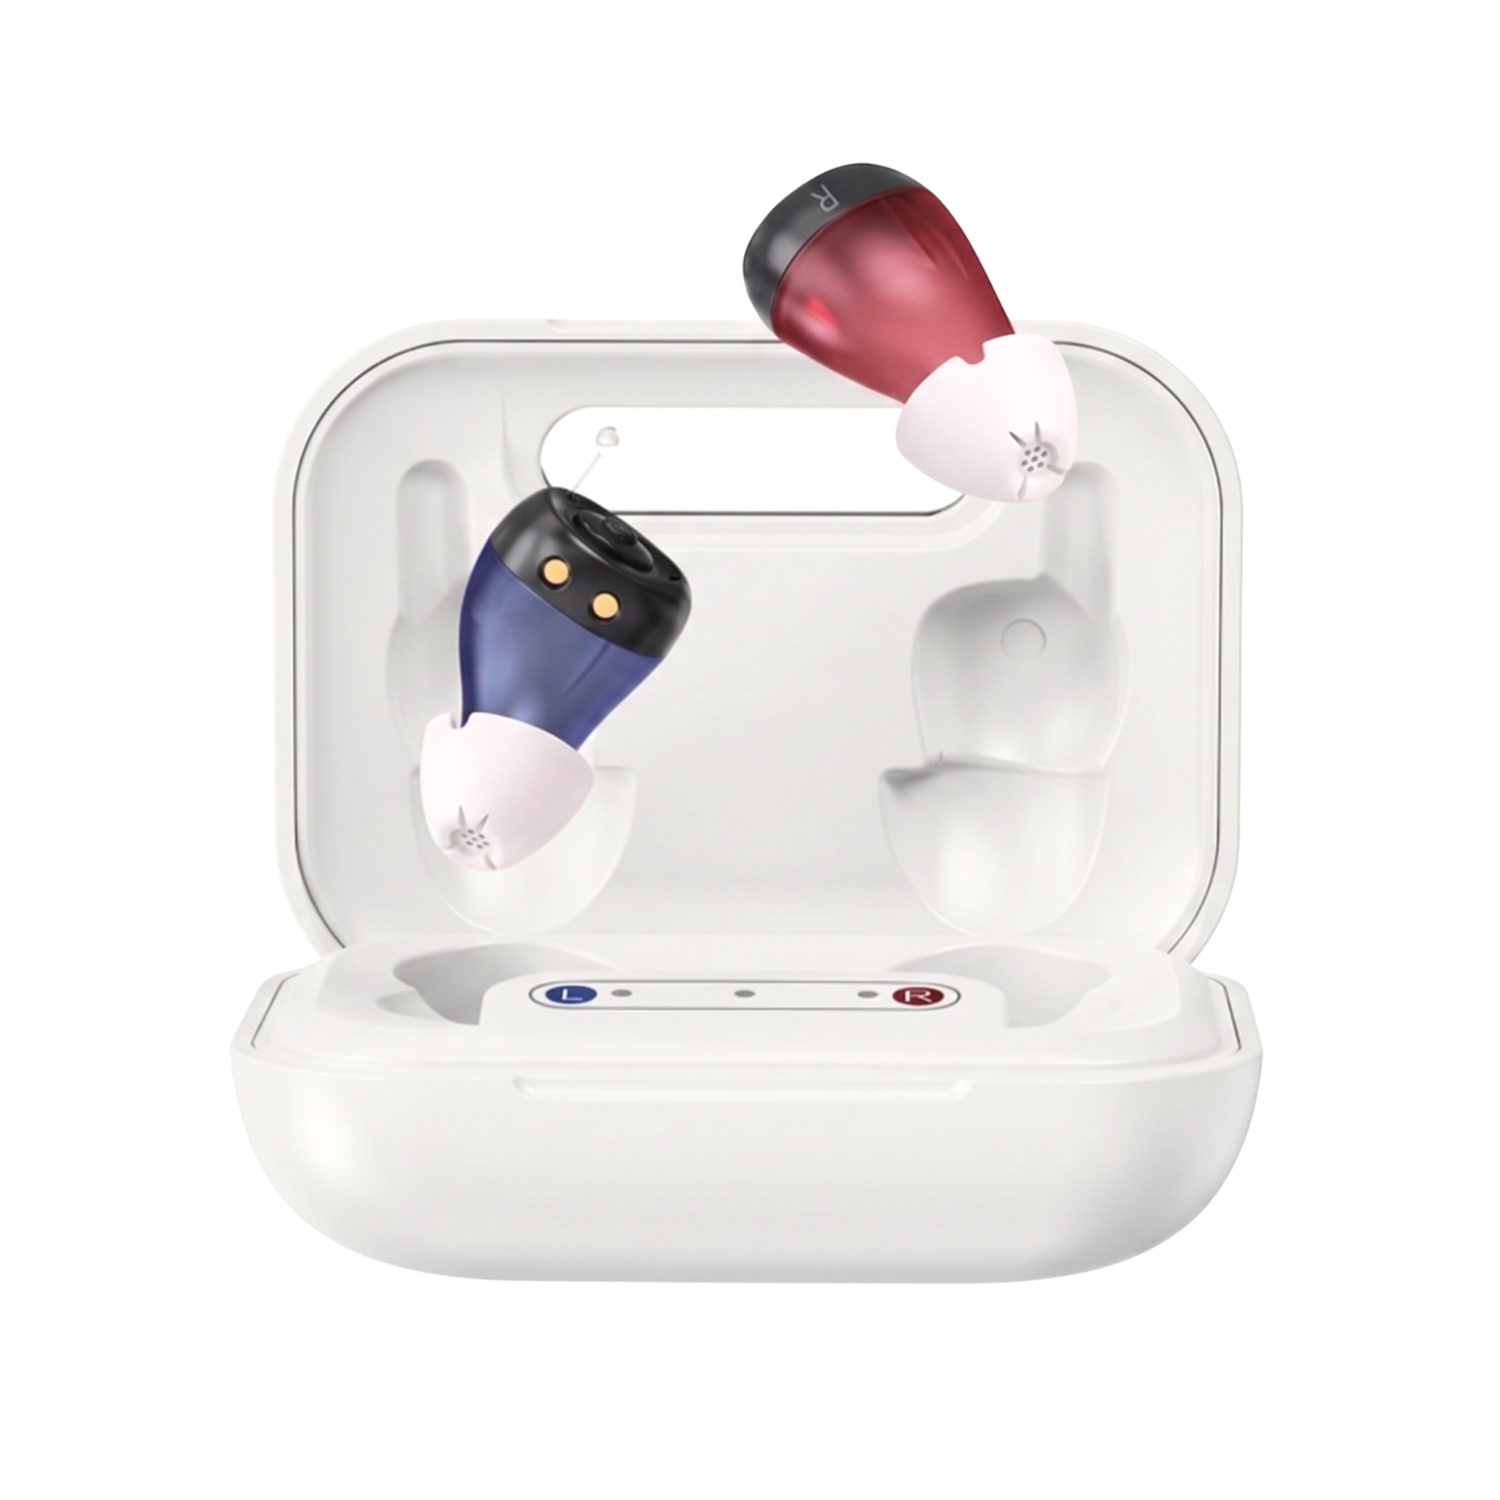
Oricle Pro (JH-A17BT)
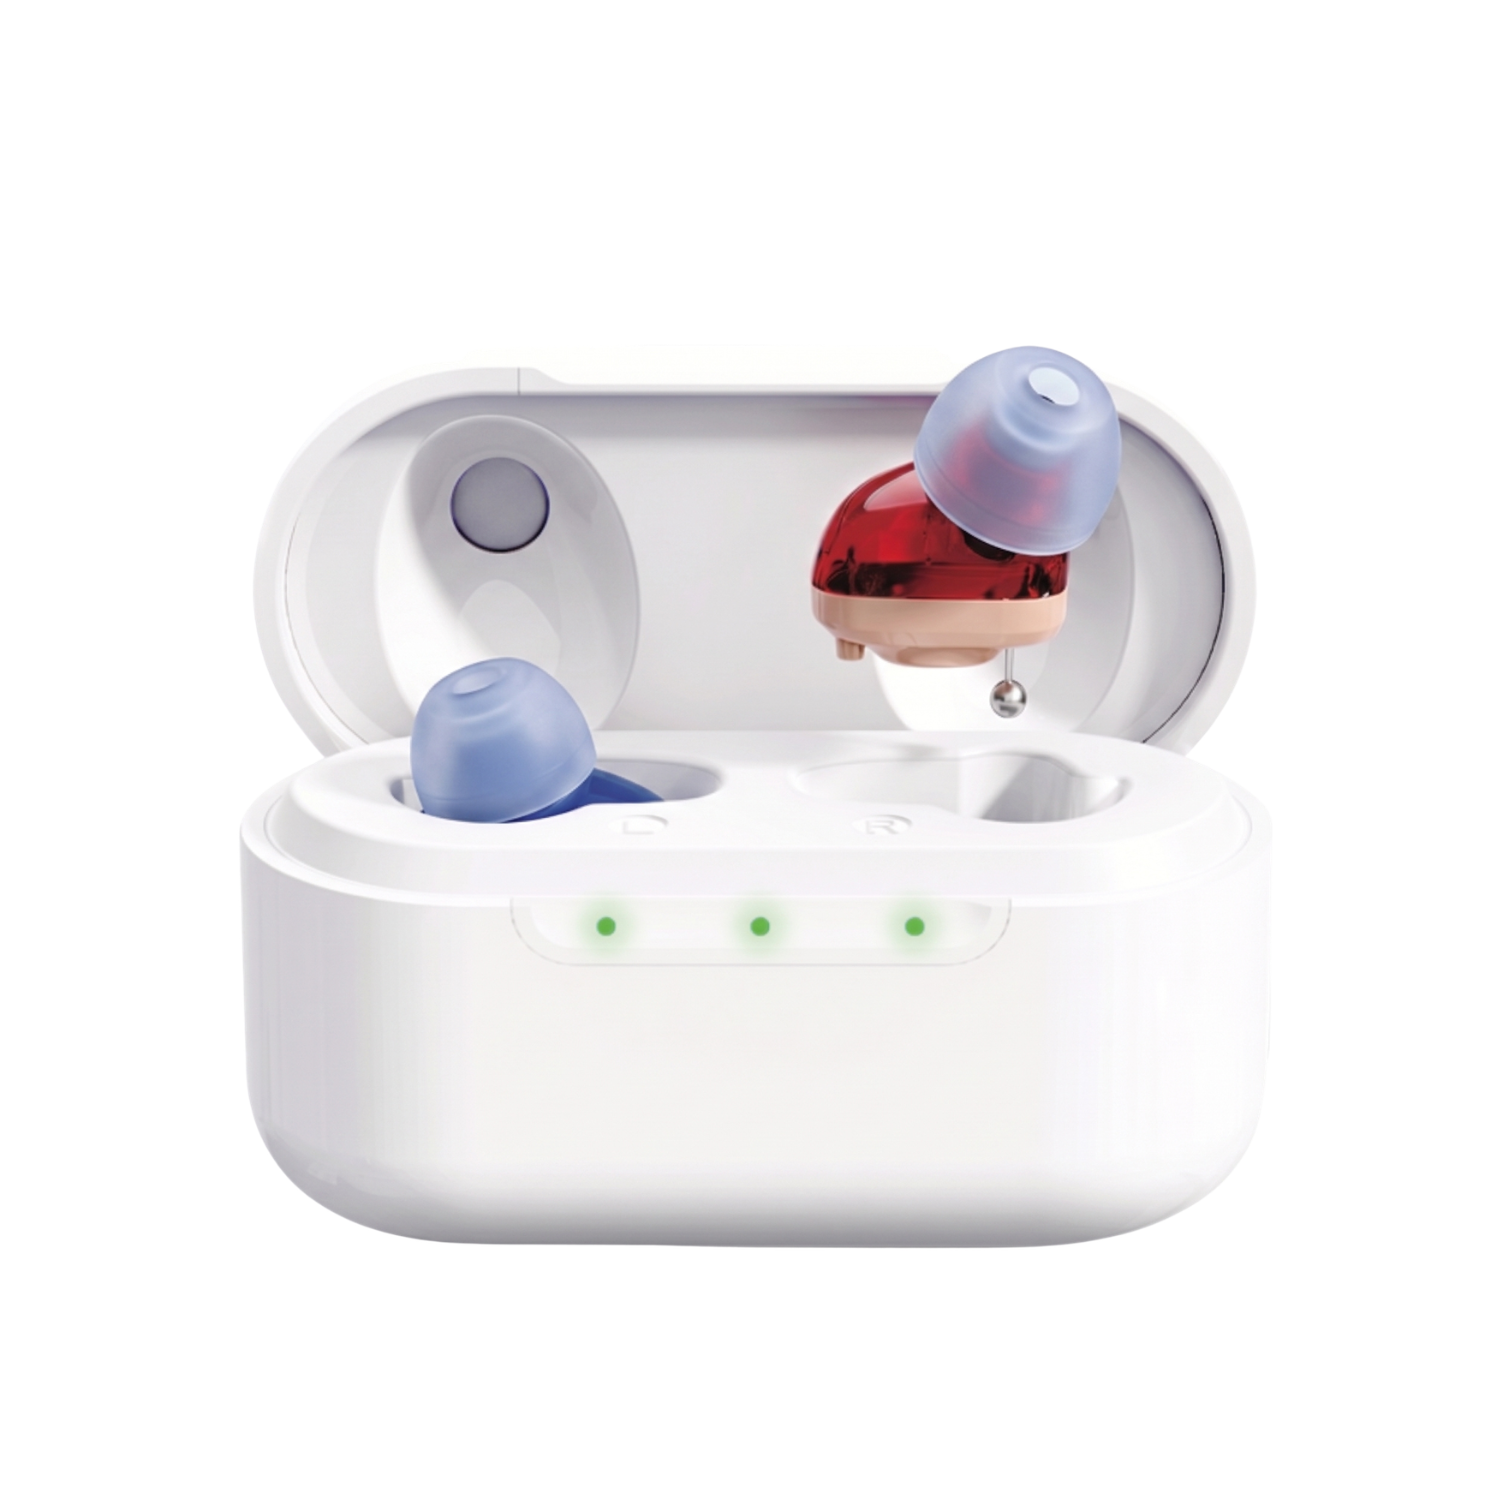
Oricle Pro+ (EC04-01)
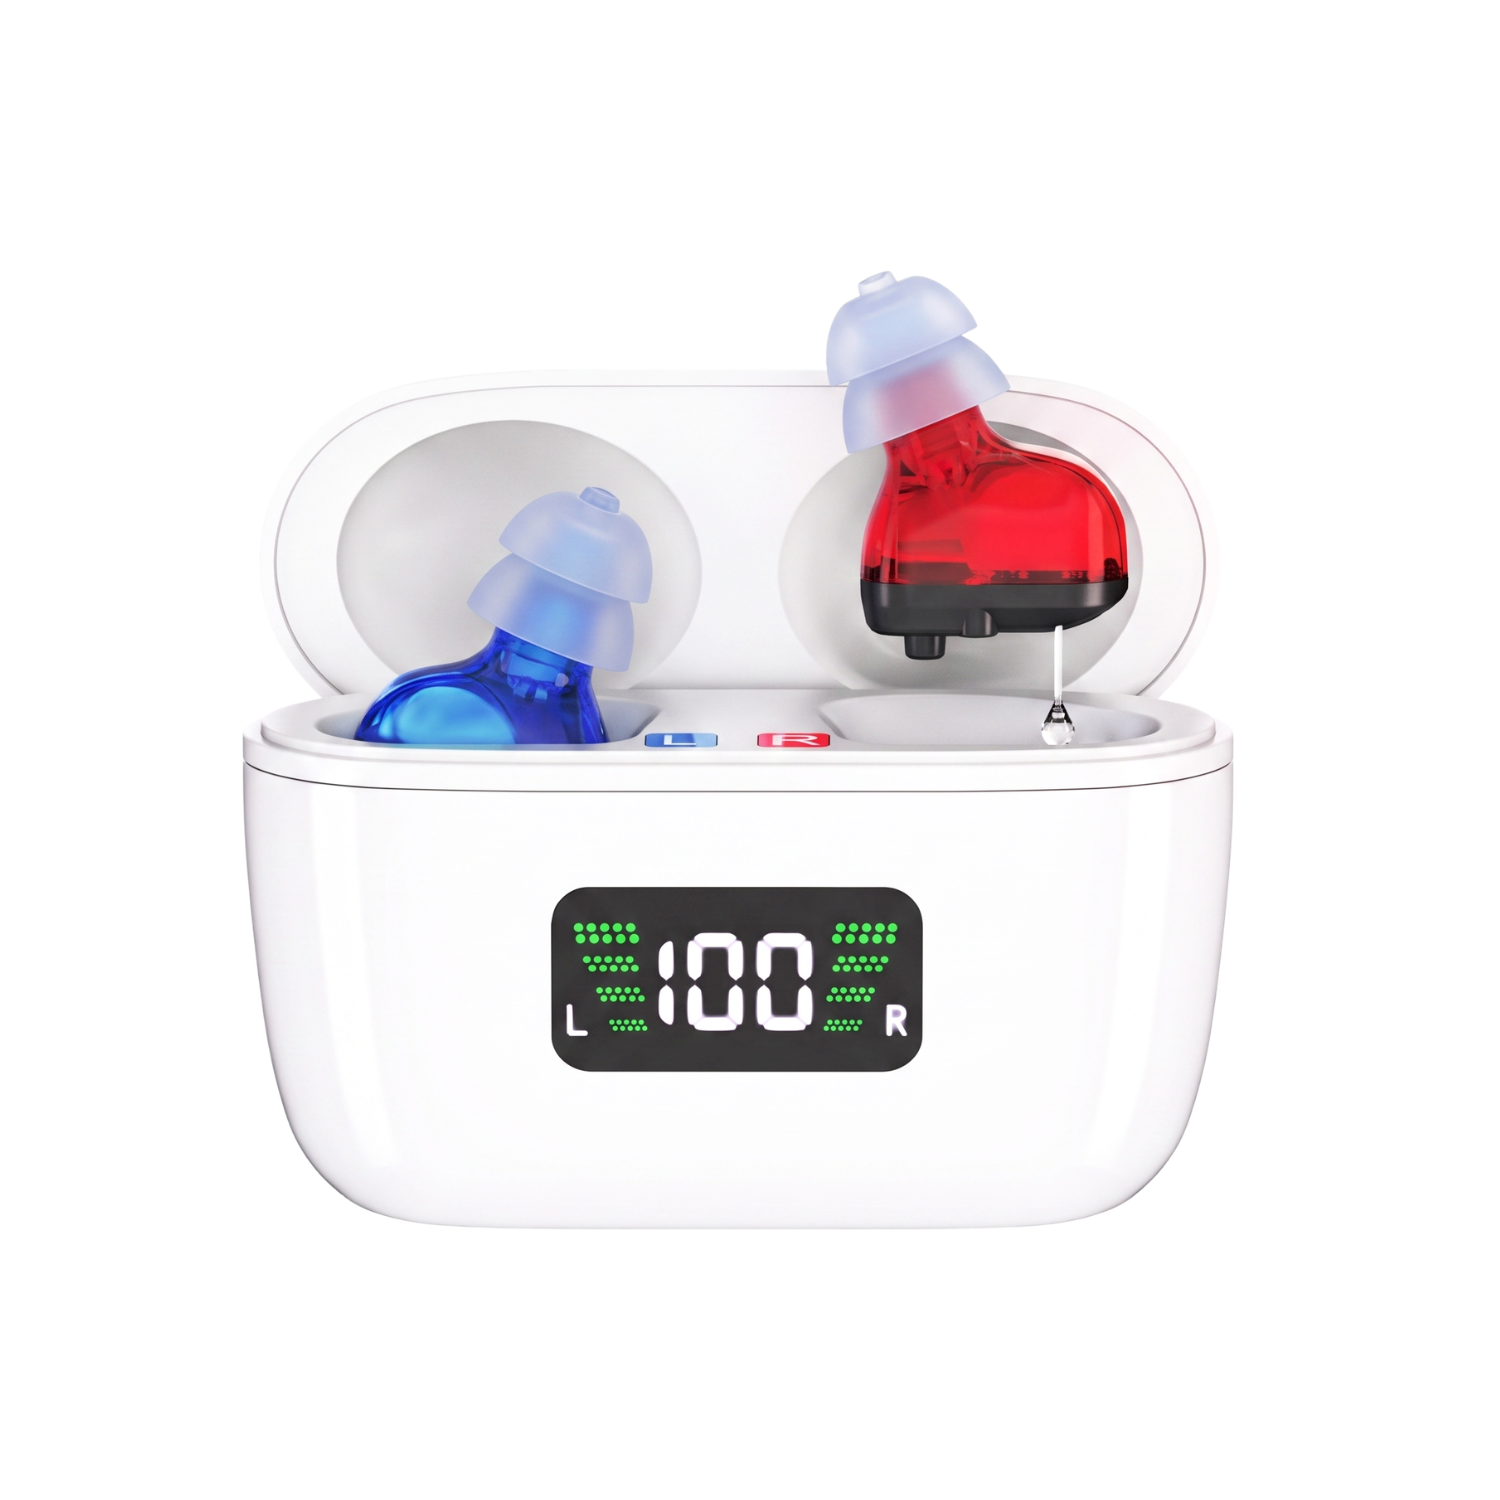
Oricle TrueFit BTE
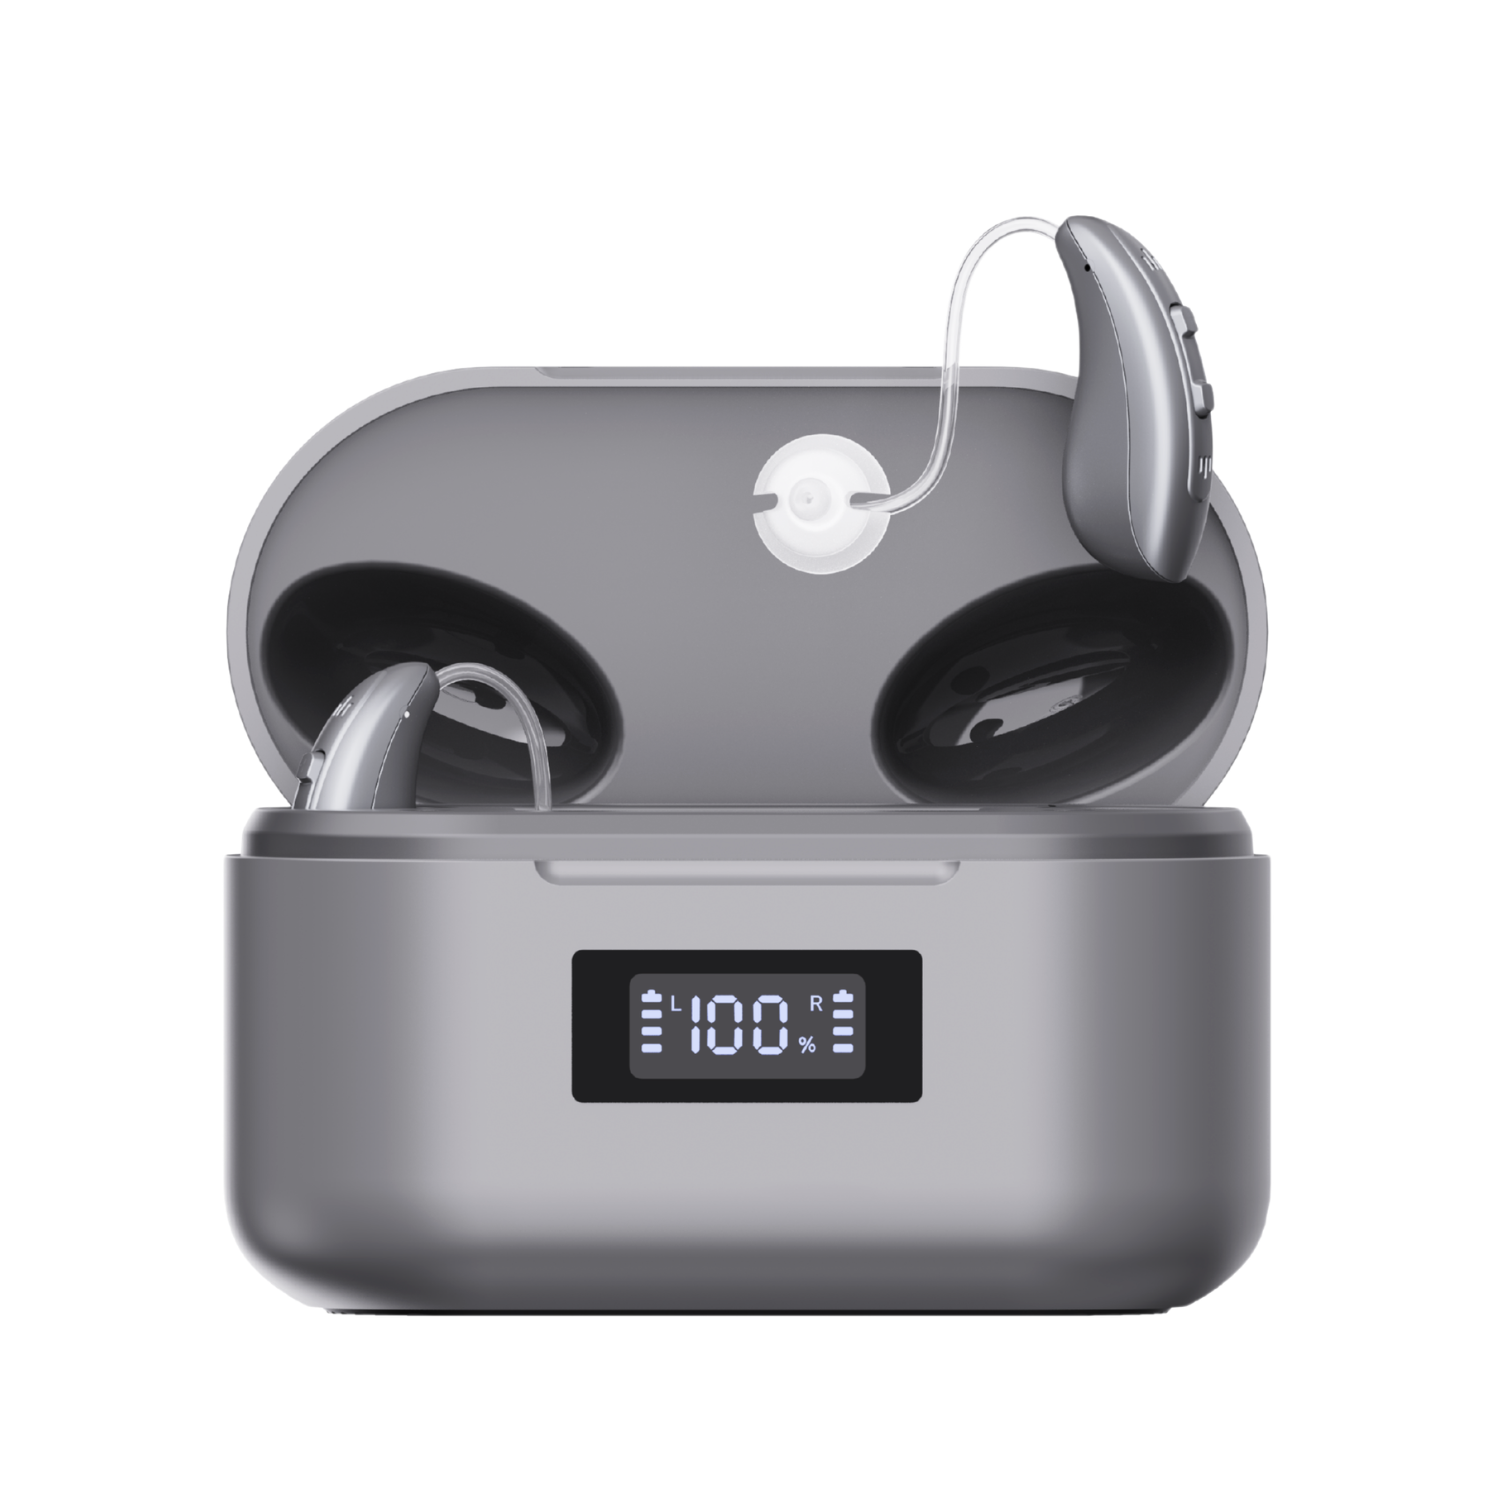
Oricle TrueFit RIC (LY-CR430)
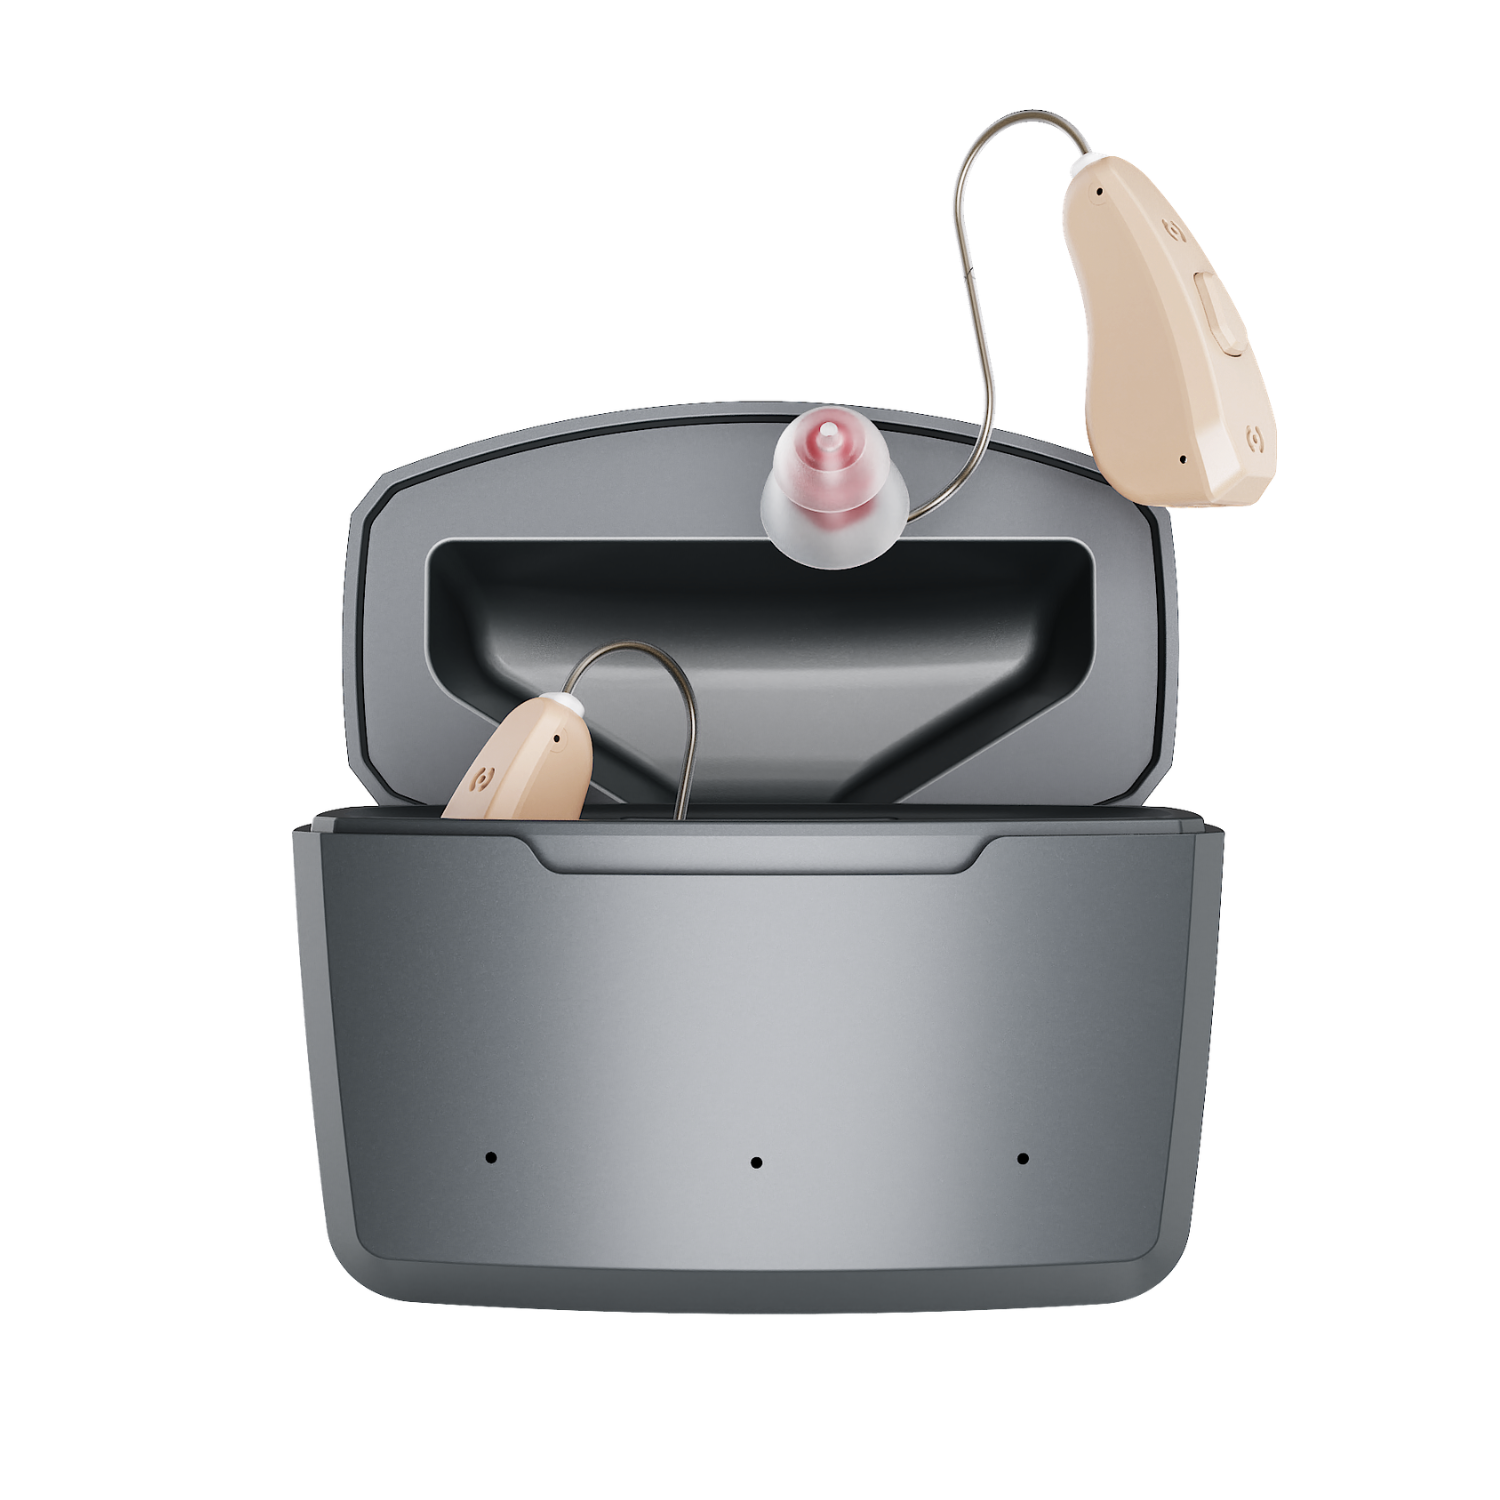
Eartip Types by Device
Different devices ship with different tip styles. Knowing which tip a customer has helps with troubleshooting fit, feedback, and comfort issues.
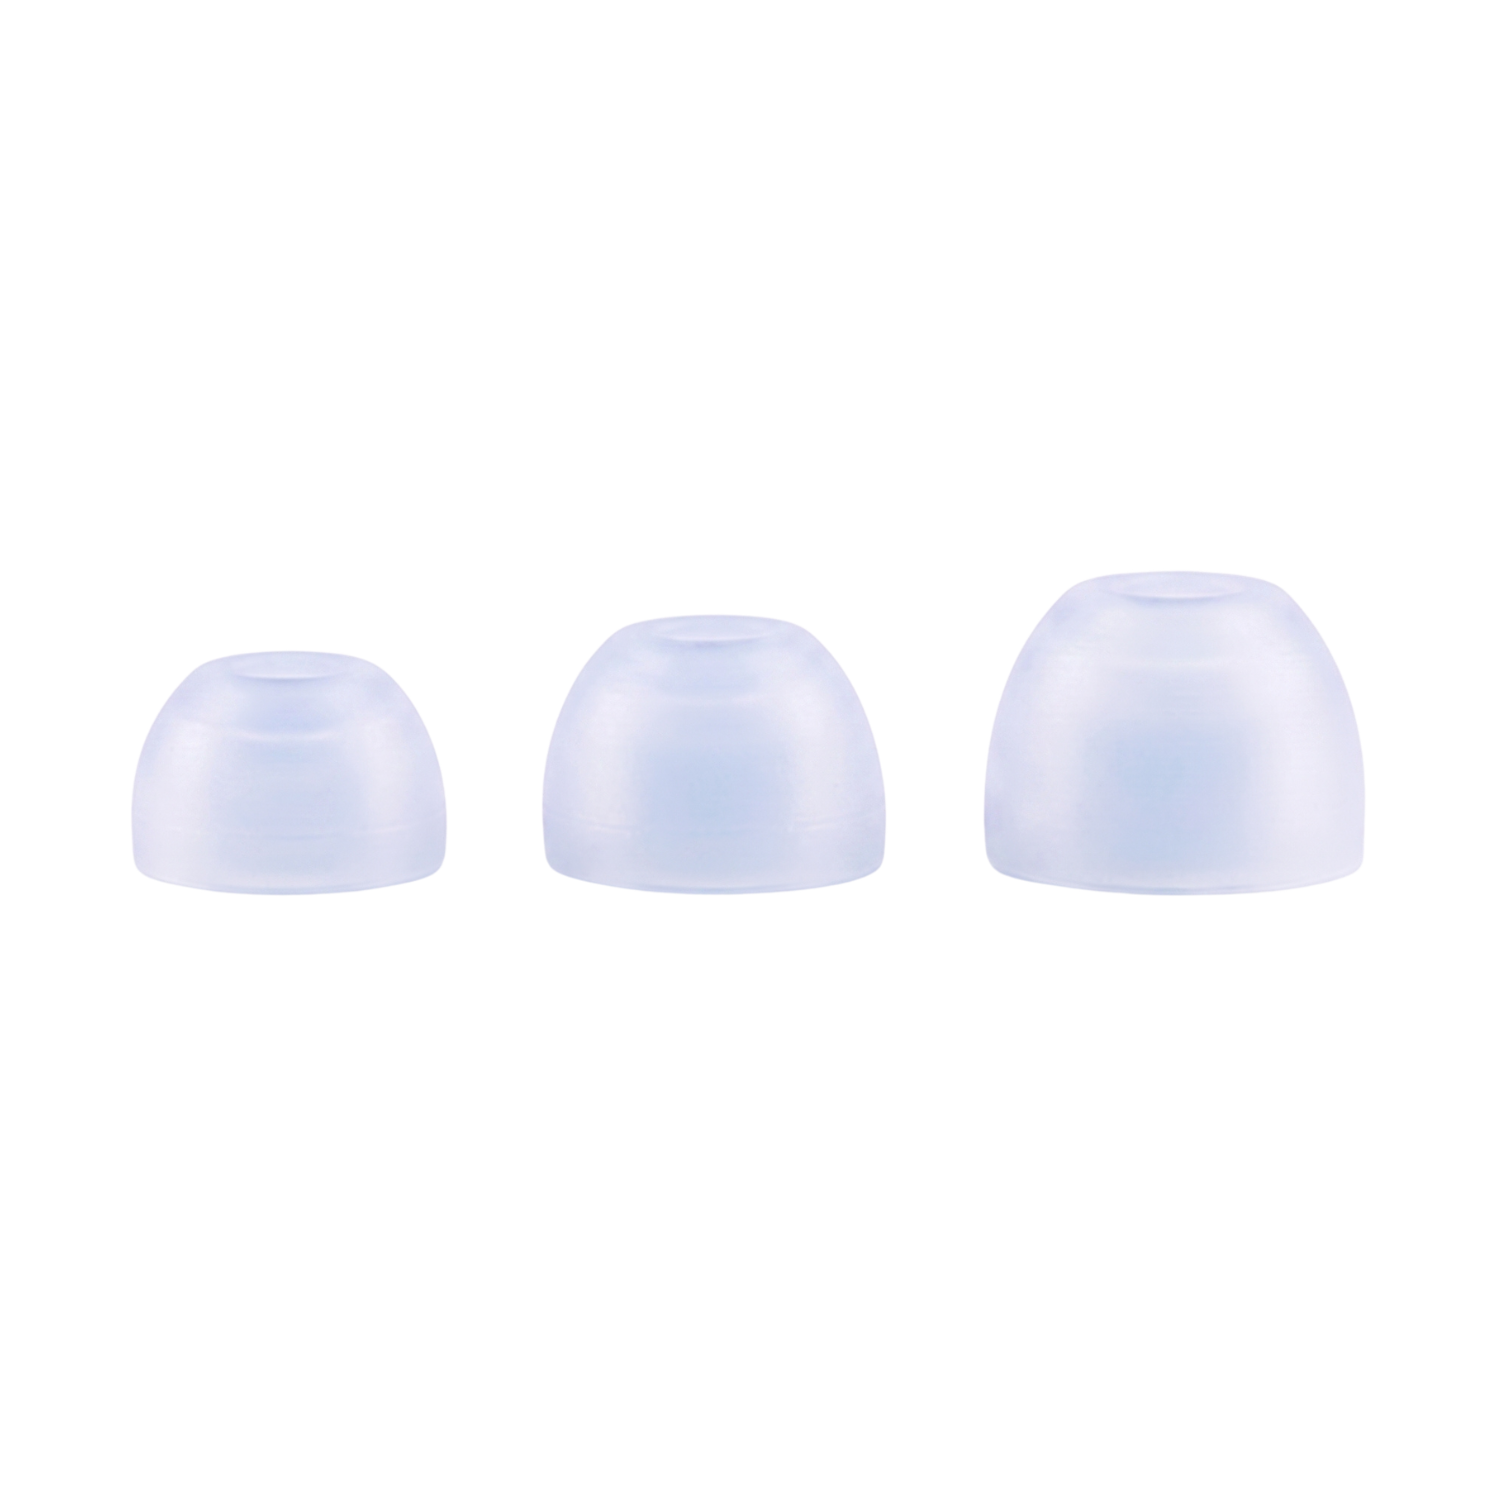
Standard Tips
Oricle 2.0, Pro
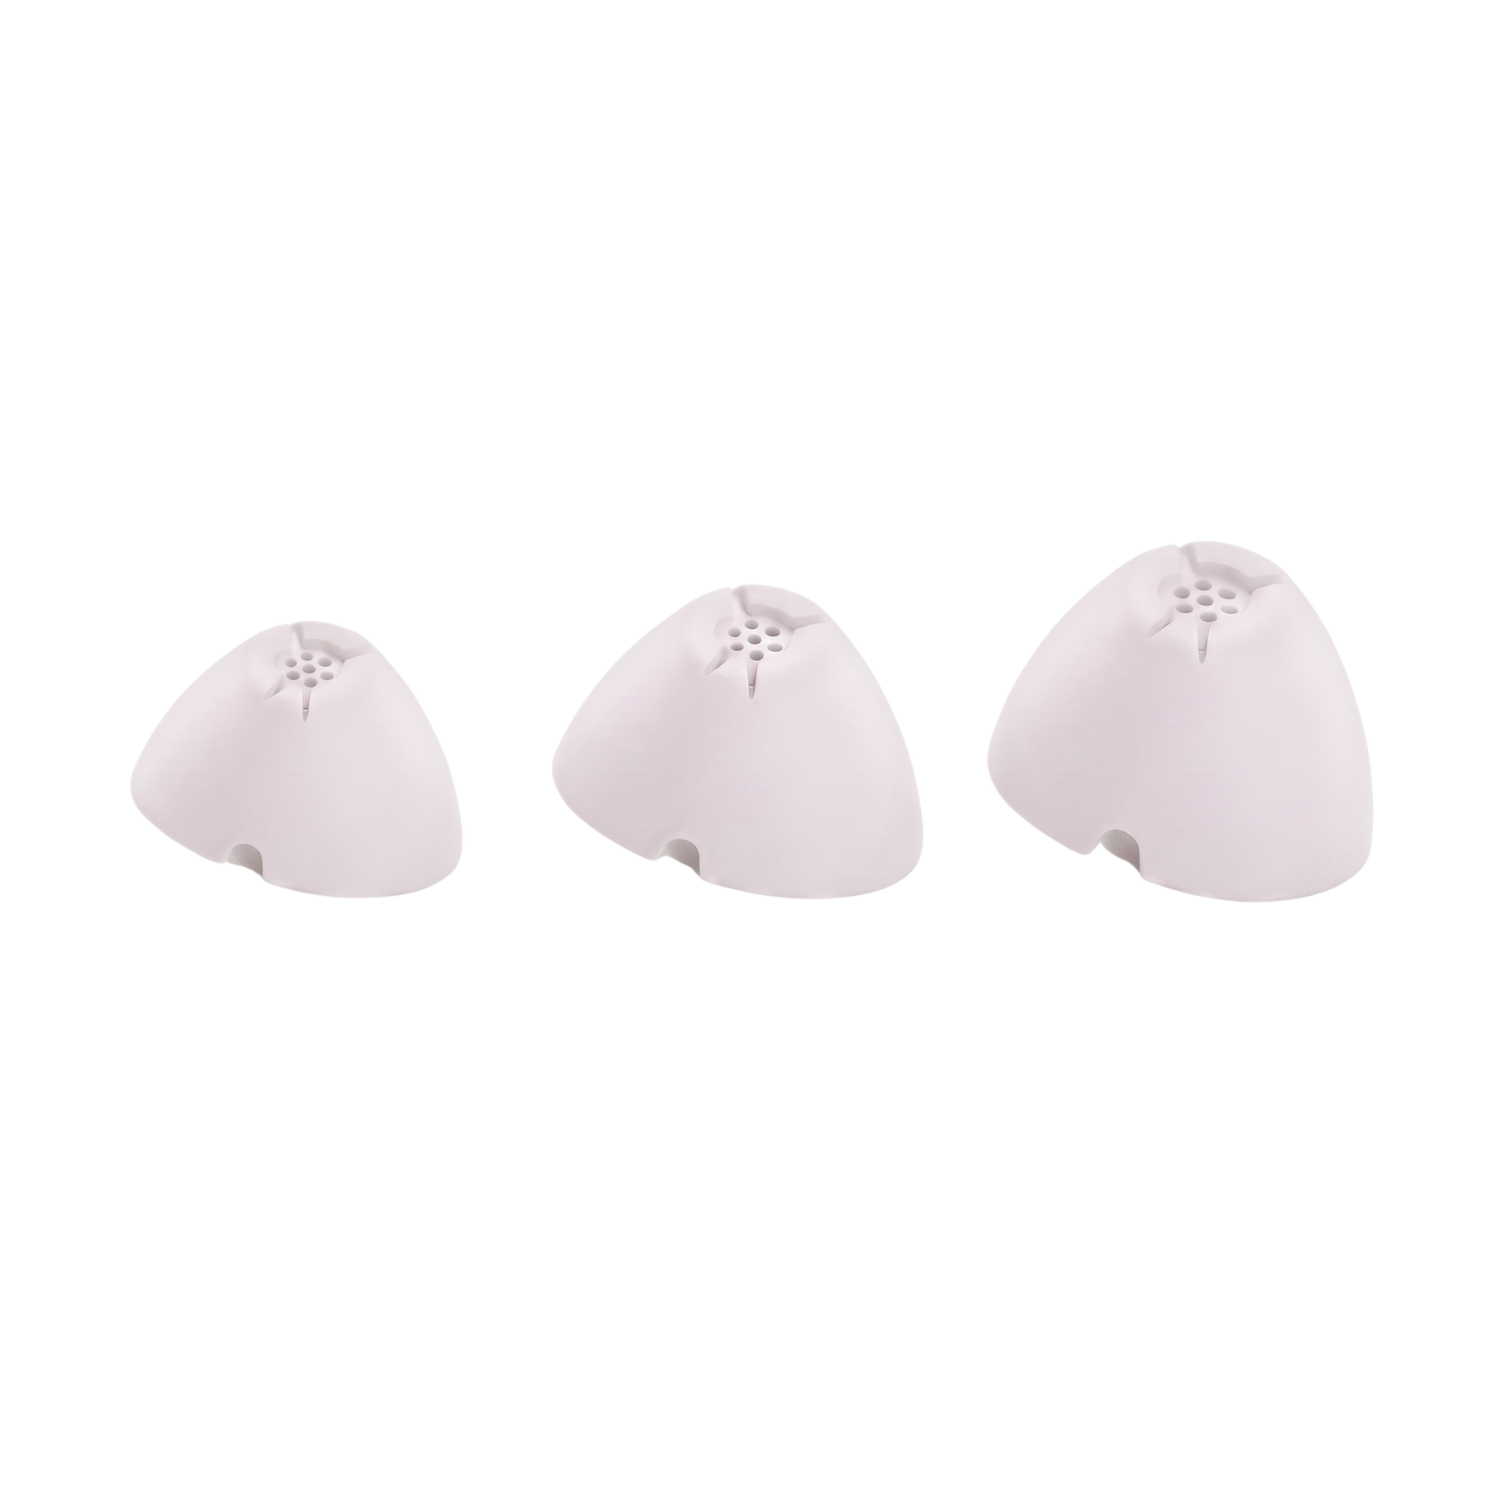
Cone Tips
Oricle 3.0
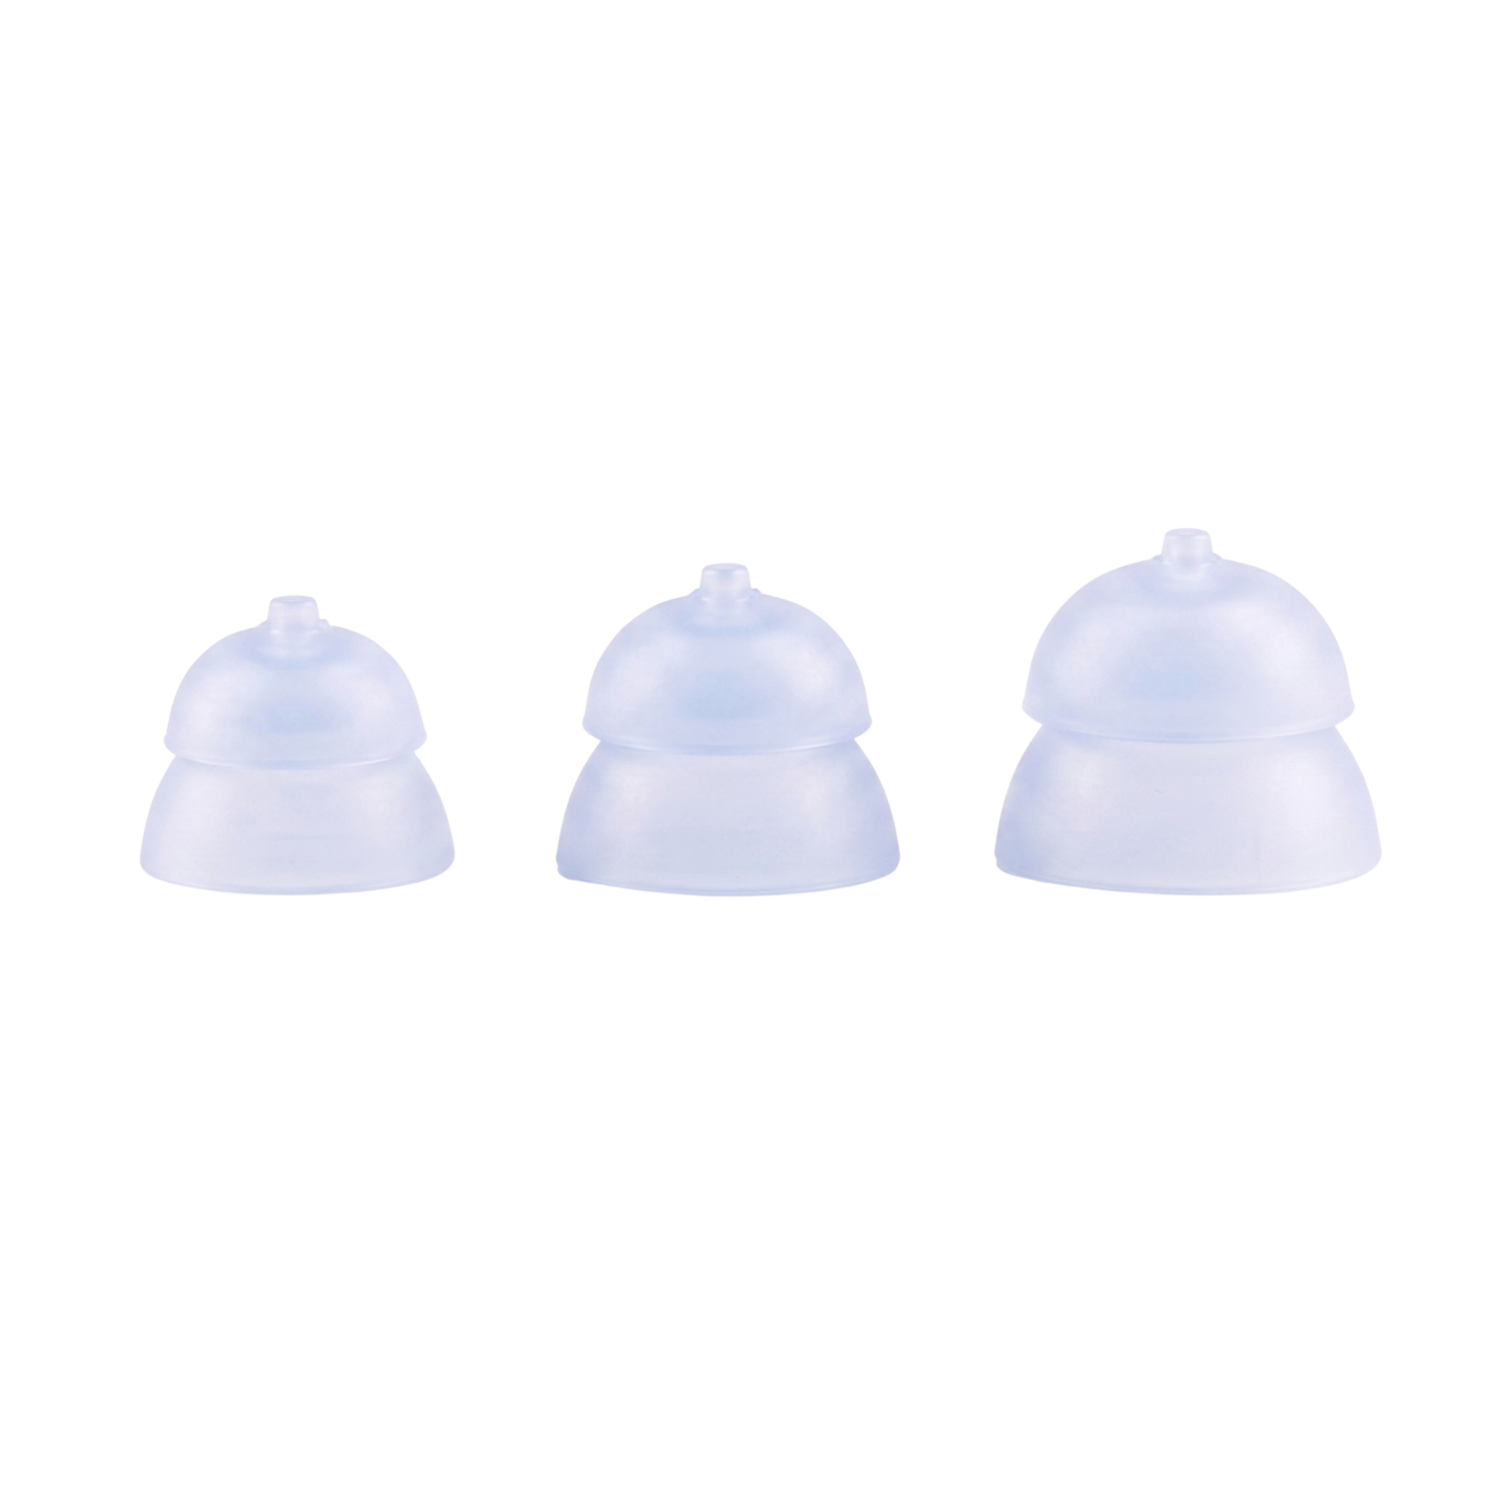
Double-dome Tips
Oricle Pro+, TrueFit RIC
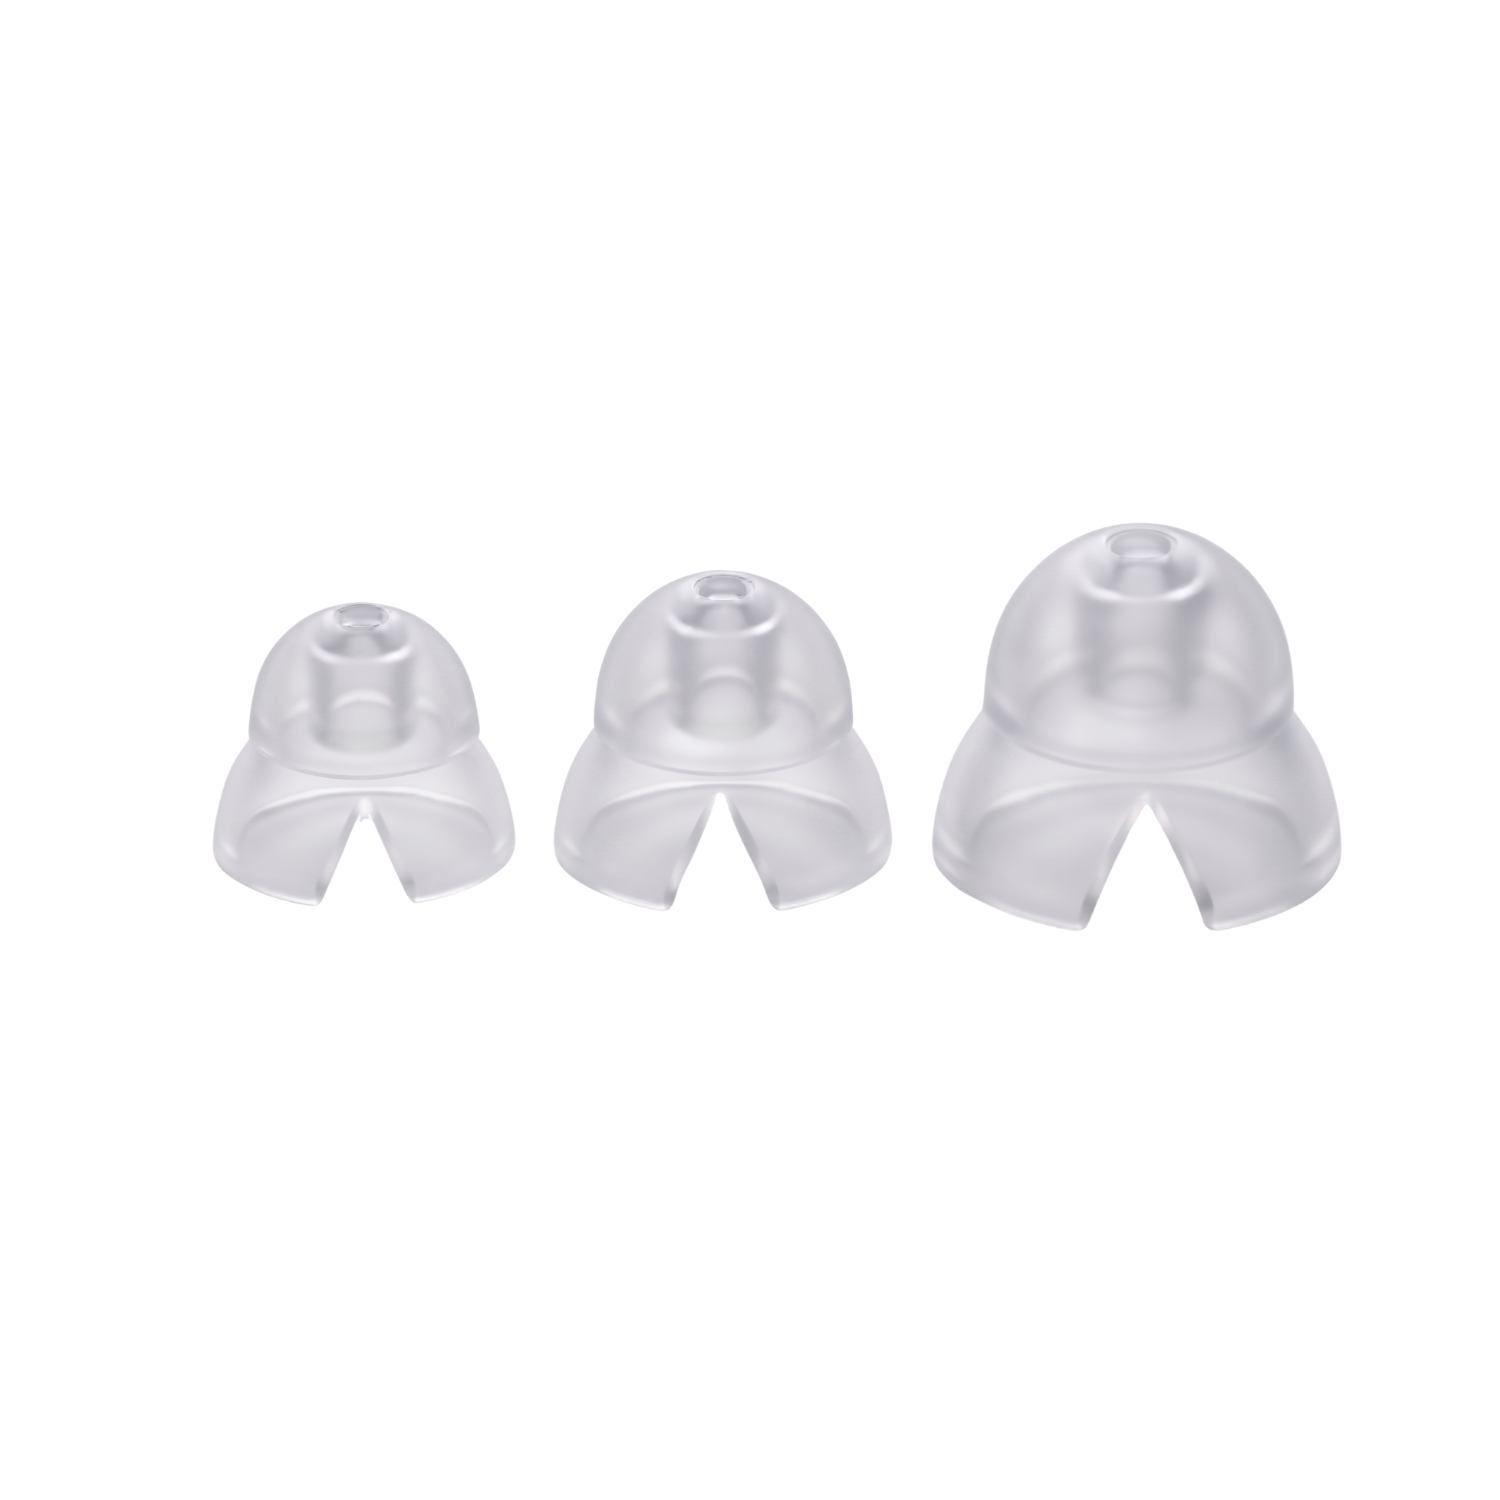
BTE Standard Tips
TrueFit BTE
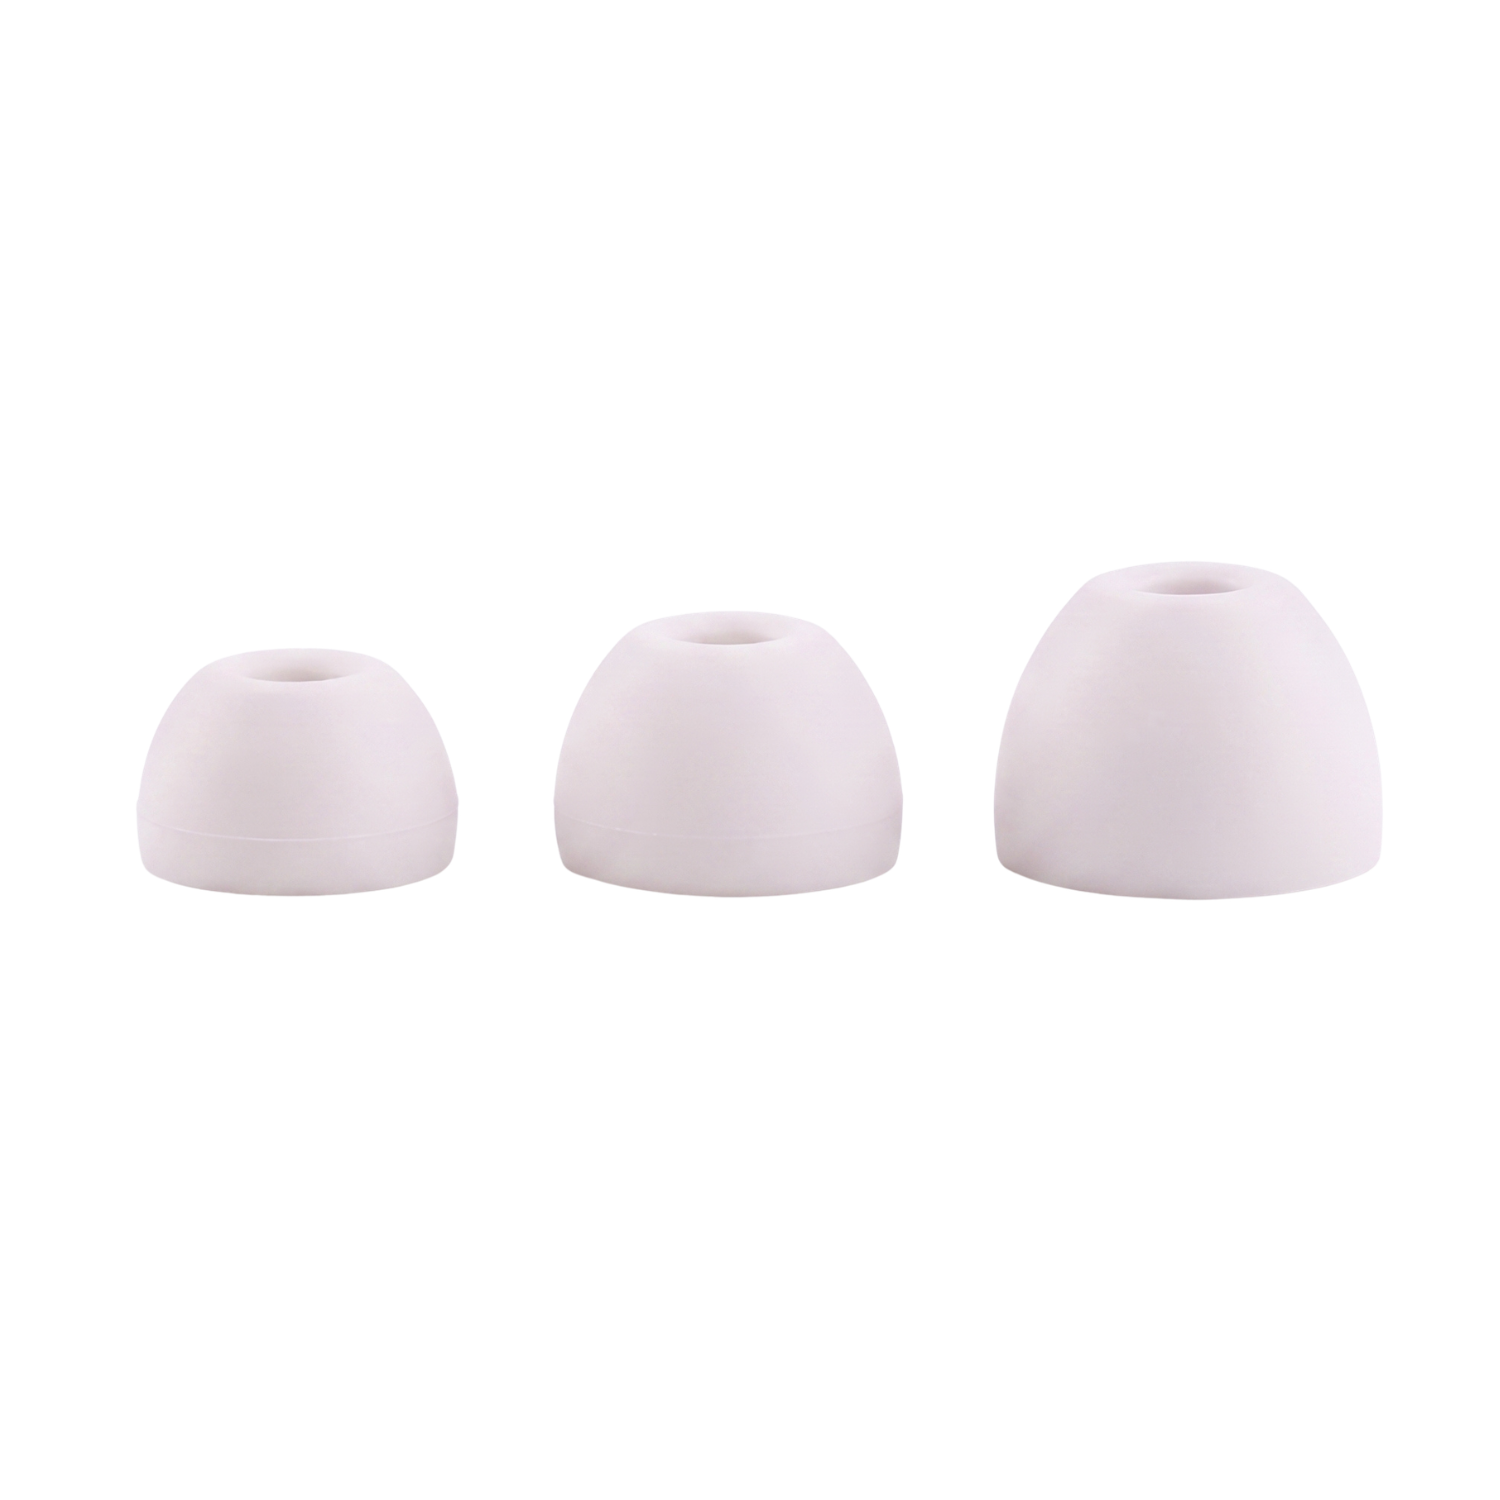
White Standard Tips
Oricle Pro+ V1 sample
Hearing Programs
Oricle 2.0 / 3.0 - 2 Hearing Modes
To switch modes, press the button on the aids twice, quickly. The number of beeps indicates the current mode.
| Mode | Best for | Prompt tone |
|---|---|---|
| Standard | Quiet spaces - home, office | 1 beep |
| Restaurant | Noisy settings - restaurants, social gatherings | 2 beeps |
Oricle Pro - 4 Hearing Programs
To change programs, customers must press and hold the button for 2 seconds (a quick press changes volume, so make sure they hold for the full 2 seconds).
| Program | Best for | Prompt tone |
|---|---|---|
| Standard | Everyday use, quiet environments | 1 beep |
| Restaurant | Noisy environments, reduces background noise | 2 beeps |
| Outdoor | Wind reduction, outdoor conversations | 3 beeps |
| Music & Movies | TV, music, concerts, theaters | 4 beeps |
Oricle Pro+ - 4 Hearing Modes
To change modes, long press the button for ~2 seconds. A short press changes volume, so make sure they hold long enough.
| Mode | Best for | Prompt tone |
|---|---|---|
| Quiet | Quiet spaces - home, office, reading | 1 beep |
| Noise Reduction | Noisy environments - restaurants, social gatherings | 2 beeps |
| Outdoor | Wind reduction, outdoor conversations | 3 beeps |
| Music | TV, music, concerts, theaters | 4 beeps |
TrueFit BTE - 4 Listening Modes
To change modes, long-hold the + button (top of the rocker switch). Each mode is optimized for a different environment.
| Mode | Best for | What it does |
|---|---|---|
| General | Everyday use | Balances speech and background noise |
| Restaurant | Noisy environments | Engages noise suppression, isolates and clarifies speech frequencies |
| Outdoor | Wind, outdoor conversations | Reduces wind whistling, adjusts compression for sudden impact noise (doors slamming, etc.) |
| Music | TV, music, concerts | Less aggressive compression, more dynamic range, reduces music distortion |
TrueFit RIC - 2 Listening Modes
To change modes, long press the multi-function button for ~2 seconds. A short press changes volume, so make sure they hold long enough.
| Mode | Best for | Prompt tone |
|---|---|---|
| Quiet | Quiet spaces - home, office, one-on-one conversations | 1 beep |
| Noisy | Noisy environments - restaurants, social gatherings, shopping | 2 beeps |
Volume Controls
| Device | Levels | How to adjust | Audio cues |
|---|---|---|---|
| Oricle 2.0 | 5 | Tap button briefly to cycle up | 1 beep each press to confirm level increase |
| Oricle 3.0 | 5 | Tap button briefly to cycle up | 1 beep each press; 1 beep = max volume; resets to level 1 |
| Oricle Pro | 6 | Tap button briefly to increase | 1 beep each press; 3 beeps = max volume; resets to level 1 after max |
| Oricle Pro+ | 9 | Short press to cycle (1-9, loops back to 1) | 1 beep each press; double beep = max volume |
| TrueFit BTE | 11 | Rocker switch: + (top) to increase, - (bottom) to decrease | Continuous adjustment with rocker |
| TrueFit RIC | 6 | Short press button to cycle (1-6, loops back to 1) | 1 beep each press; triple beep at level 6 (max); triple beep again resets to level 1 |
Side-by-Side Comparison
Use this when discussing upgrade options or helping a customer understand the differences between models.
| Oricle 2.0 | Oricle 3.0 | Oricle Pro | Oricle Pro+ | TrueFit BTE | TrueFit RIC | |
|---|---|---|---|---|---|---|
| Style | In-the-ear (ITE) | In-the-ear (ITE) | In-canal (ITC) | In-canal (ITC) | Behind-the-ear (BTE) | Receiver-in-canal (RIC) |
| Power on | Auto (from case) | Auto (from case); button also works | Button (4 sec) | Auto (8 sec delay) | Auto (~12 sec) | Auto (4 beeps, ~8 sec) |
| Volume levels | 5 | 5 | 6 | 9 | 11 (rocker switch) | 6 (button press) |
| Programs | 2 (Standard, Restaurant) | 2 (Standard, Restaurant) | 4 (Standard, Restaurant, Outdoor, Music & Movies) | 4 (Quiet, Noise Reduction, Outdoor, Music) | 4 (General, Restaurant, Outdoor, Music) | 2 (Quiet, Noisy) |
| Microphones | 1 | 1 | 1 | 1 | 2 (dual) | 1 |
| Processing channels | - | - | - | 16 (digital) | 16 | 16 (digital) |
| Battery life | 10-14 hrs | 12-16 hrs | 10-14 hrs | 18-20+ hrs | ~16 hrs | 16+ hrs |
| Case charges | 2-3 cycles | 2-3 cycles | 3-4 cycles | 5 cycles | Up to 4 cycles | 3 cycles |
| Charging | Place in case (auto-off) | Place in case (auto-off) | Turn off first (hold 4 sec), then place in case | Place in case (auto-off); digital % display | Place in case (auto-off) | Place in case (auto-off); white light = charging, off = full |
| Noise reduction | - | Yes (frequency-based) | - | Yes (digital) | Yes (digital) | Yes (digital) |
| Feedback cancellation | - | - | - | Yes | Adaptive (real-time) | Yes |
| Eartips | Standard | Cone | Standard | Double-dome | Open / closed domes | Double-dome (same as Pro+) |
| Best for | Most customers | Most customers (replaces 2.0) | More programs and control | Best battery, digital processing, most volume levels | In-canal fit issues, more volume, clearer speech in noise | Comfortable behind-ear fit, digital processing, simple controls |
Charging Light Guide
The Oricle 2.0, 3.0, and Pro all have 3 lights on the charging case. The outer lights (left and right) show each hearing aid's charge status. The middle light shows the case battery level. The Oricle Pro+ and TrueFit BTE use a digital percentage display instead of lights. The TrueFit RIC uses 3 indicator lights (white = charging, off = full).
Hearing Loss Levels (WHO Standard)
Use this when customers describe their hearing. Our devices cover mild to moderate.
| Grade | Threshold (dB) | Oricle suitable? |
|---|---|---|
| Normal | < 20 dB | Not needed |
| Mild | 20 - 35 dB | Yes |
| Moderate | 35 - 50 dB | Yes |
| Moderately severe | 50 - 65 dB | Maybe - set expectations |
| Severe | 65 - 80 dB | No - recommend Rx aids |
| Profound | 80+ dB | No - recommend Rx aids |
Care & Safety
Eartip Care
- Replace eartips every month or when stiff/discolored
- Clean earwax daily with the included cleaning tool
- Remove eartips before cleaning - push rim membrane outward to detach
- Clean with alcohol and dry cloth, let dry fully before reattaching
- Incorrect eartip size is the #1 cause of whistling/feedback
Safety Reminders
- Do NOT get the aids wet - remove before swimming, showering, or bathing
- Do NOT leave in a hot car - heat damages the devices
- Do NOT clean with water, solvents, or oils
- Remove before X-rays, MRI, or CT scans
- Oricle Pro: Turn off (hold button 4 sec) before placing in the charging case
- Charge at least every 28 days to avoid battery damage
- Do NOT attempt to repair - voids warranty
UV Dryer
The UV Dryer removes moisture from hearing aids using UV light sterilization and gentle heat drying. Recommend it to customers who experience moisture buildup from sweat, humidity, or naturally moist ear canals.
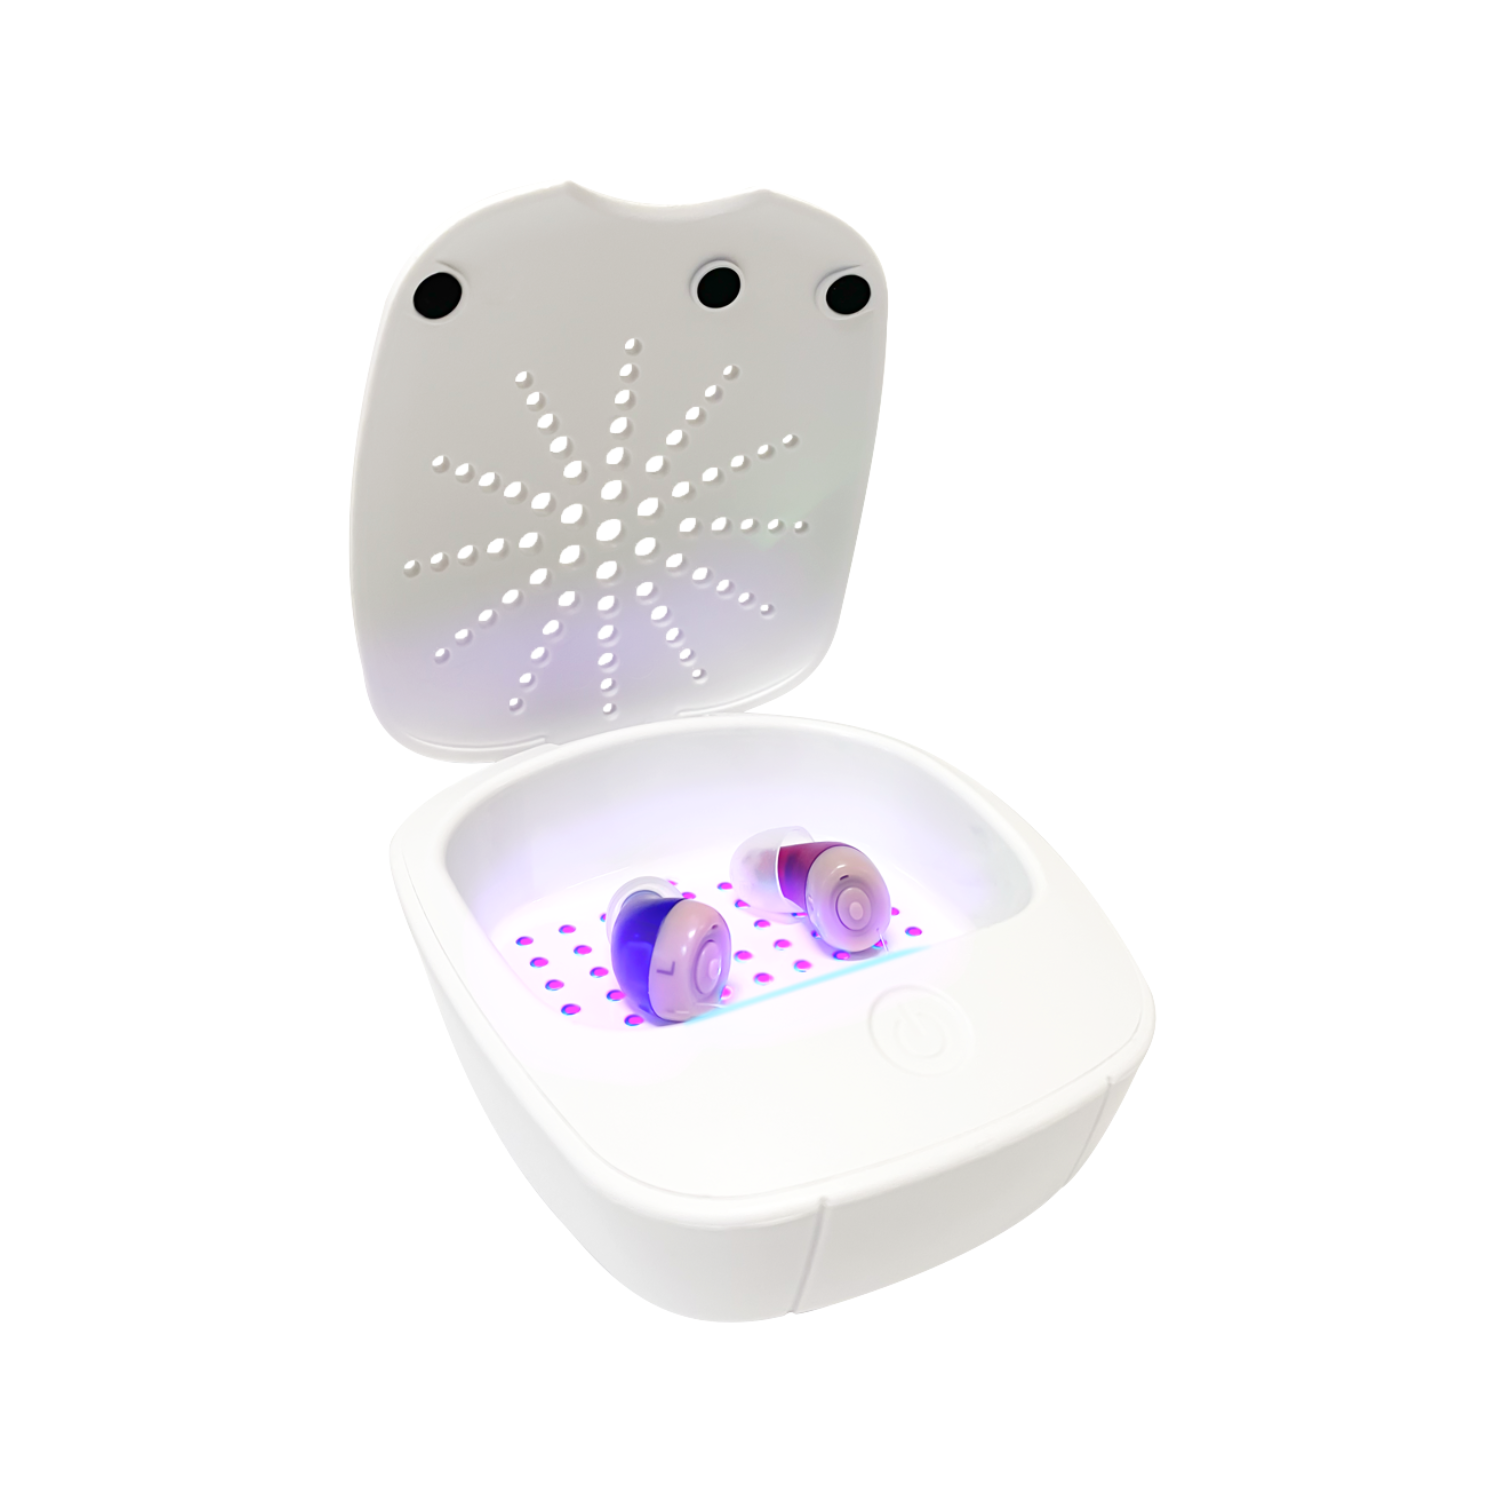
How It Works (Two-Stage Process)
- Stage 1 - UV Sterilization (8 min): UV light kills bacteria and germs on the hearing aids
- Stage 2 - Heat Drying (3 or 6 hrs): Gentle warm air removes moisture from inside and outside the devices
- Both stages run automatically once started
How to Operate
- Press button 1x = 3-hour dry cycle (red + green flash)
- Press button 2x = 6-hour dry cycle (red + blue flash)
- Place hearing aids inside, close the lid, then press the button
- The dryer runs both UV sterilization and drying automatically
When to Recommend
- After exposure: Rain, high humidity, exercise, or sweat
- Daily use: For customers with naturally moist ear canals
- Routine maintenance: Weekly or monthly to extend device life
- Particularly useful for customers reporting intermittent sound issues that could be moisture-related